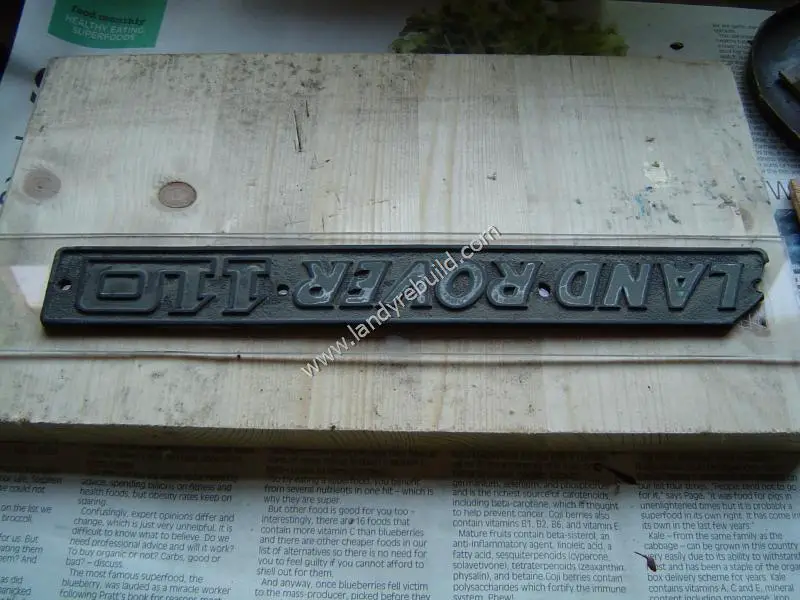
As I started removing the radiator panel, it was evident that the plastic 110 badge would need to be replaced. The upper left corner was missing, and the bottom right corner was cracked.
I searched for a replacement, but the only 110 badges which were available were the sticker type. Defender badges were available, but a badge carrying the words "Land Rover 110" - no luck. So I decided to make my own.
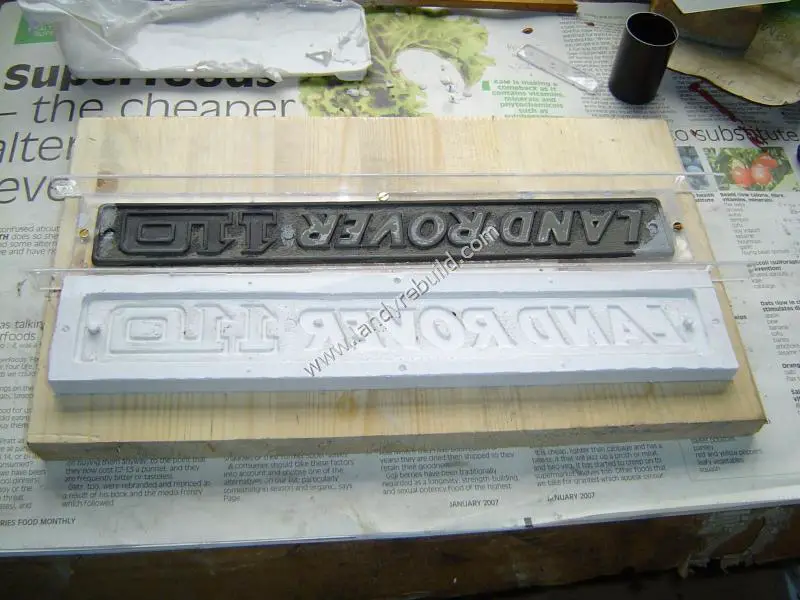
I'd never done any resin casting before, but I thought I'd give it a go! The badge would actually be made of finely-ground aluminium mixed with an epoxy resin. All materials were obtained from Tiranti. Here's what it looked like before I started - the first thing I did was to superglue the old plastic 110 logo to a piece of clear acrylic:
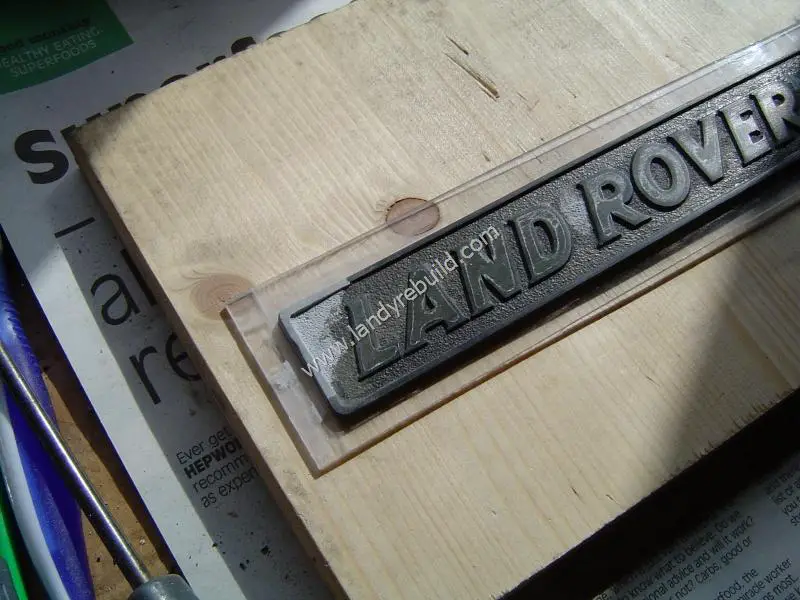
Then using some body filler I filled in the holes and built up the missing piece:
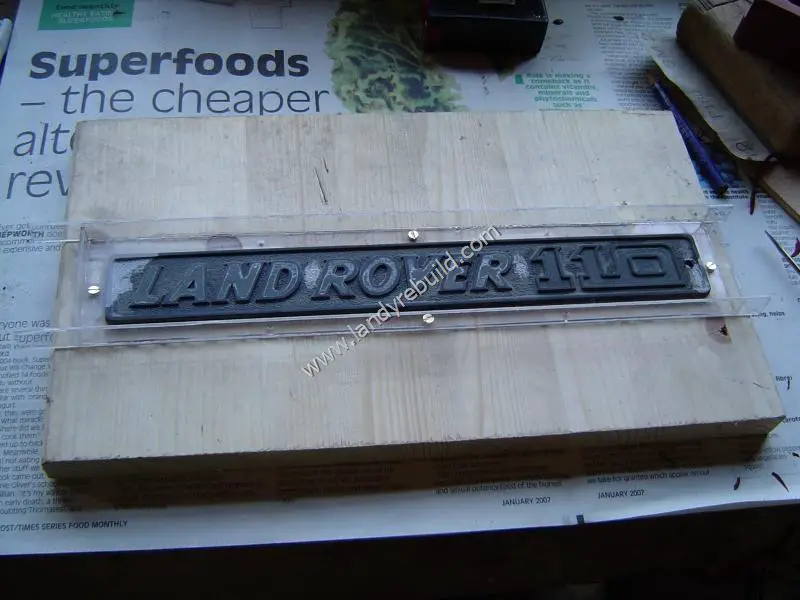
Some more strips of clear acrylic were then cut and using polystyrene cement I enclosed the logo in an open-topped "box" and mounted the whole thing to a backing board for added rigidity:
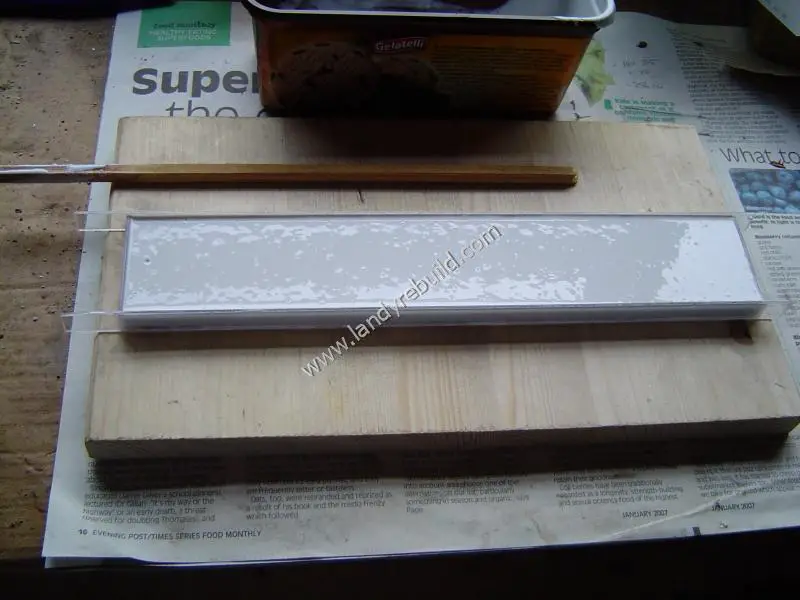
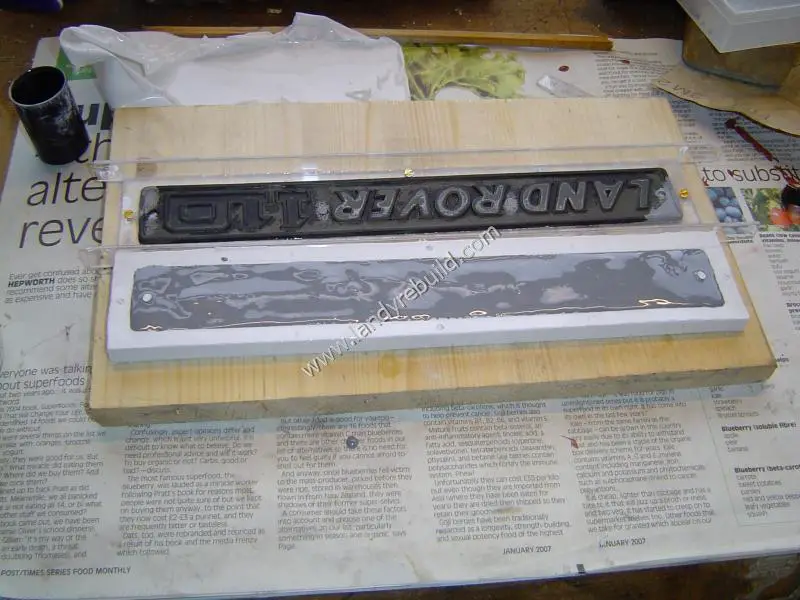
The casting silicone was then mixed and poured into the mould. It was then left alone to set:
24 hours later, the silicone had set. Not a bad impression!
The aluminium powder was then mixed with the casting resin and hardener, poured into the silicone mould, and left to harden.
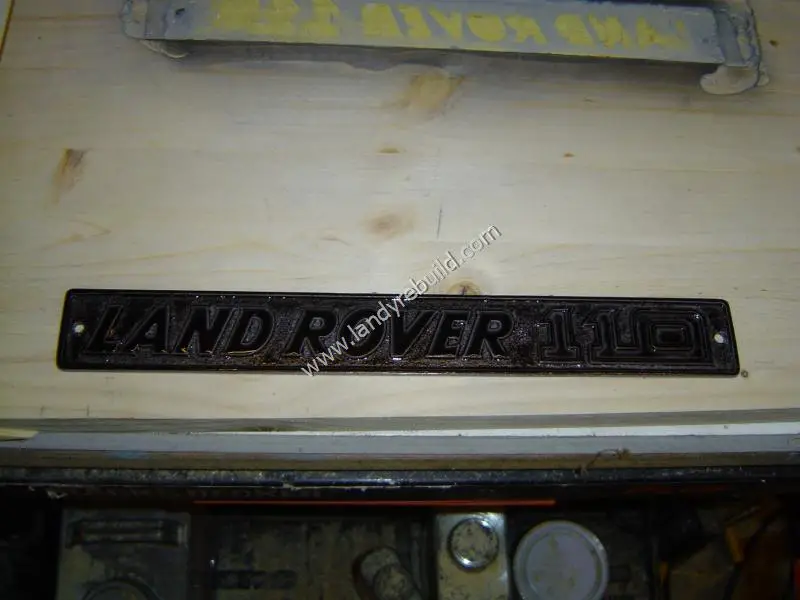
Once the aluminium resin had set, I unpeeled the silicone mould. Using a very fine screwdriver, I removed all the little surface imperfections. Double-sided tape was then used to fix the badge (face down) into a recess which I'd routed into a sheet of scrap wood. (You can see the recess at the top of the next photo). A belt sander was then used to smooth the back of the badge, because as you can see from the above photo, the aluminium resin wasn't quite level. Once this was done, the face of the badge was then sprayed with etch primer, and once this had dried I brush-painted it black.
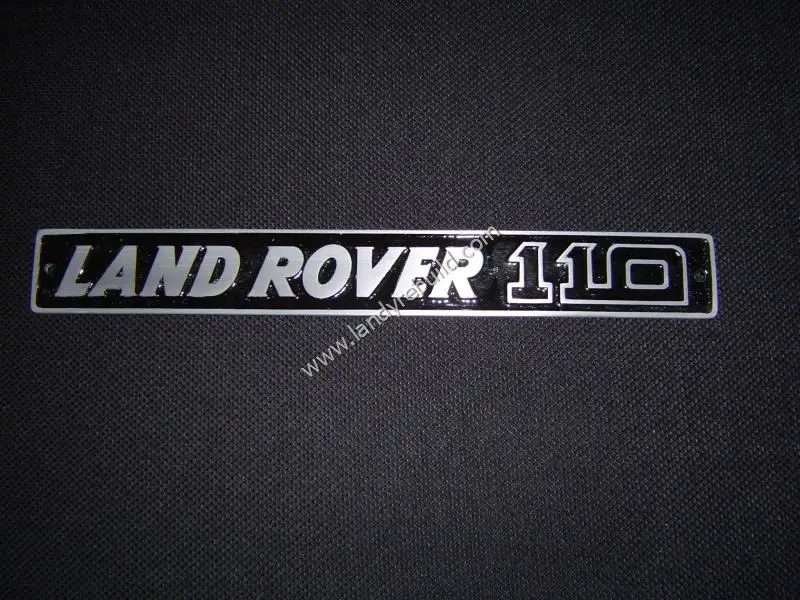
Once the black paint had dried, I used some wet/dry sandpaper on a sheet of glass to remove the excess paint from the raised lettering and borders. The badge was then polished with some very fine steel wool and wiped with some wax (it is, after all, aluminium; if you don't do this the aluminium goes dull very quickly).
Having made the above prototype, it was fairly easy to cast another one.
When it comes to fixing it on, it's advisable not to use rivets. Instead some small pan-head bolts can be used - this puts less pressure on the resin/aluminium so there's less likelihood of breakage. You could of course use double-sided tape; after all, the original badge was self-adhesive.
