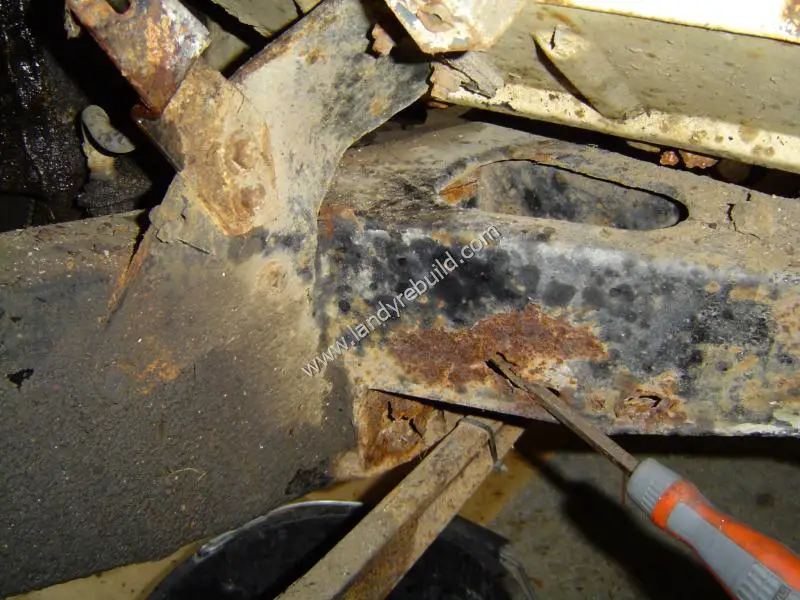
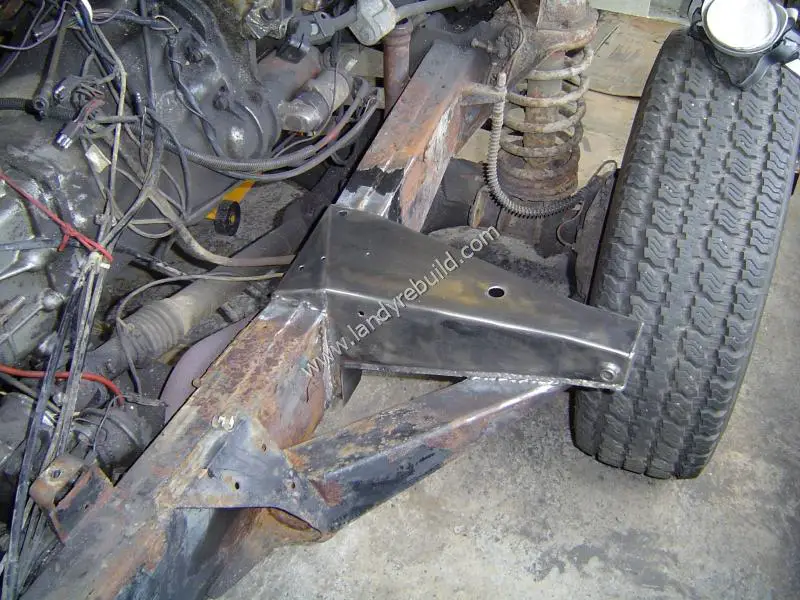
This was the diseased passenger side bulkhead outrigger. The driver's side one was not much better.
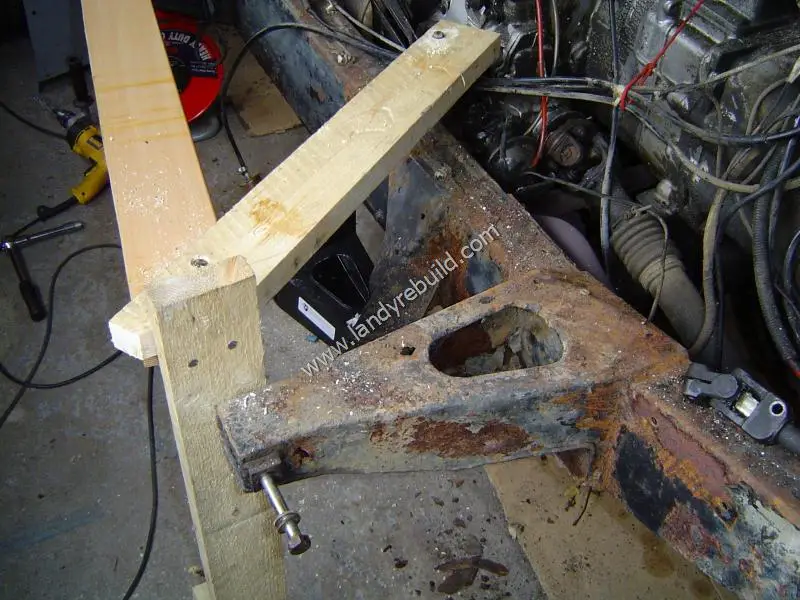
Before cutting off the outriggers, I made up a jig using some timber I had lying around:
The idea is that this jig will swing out of the way so that the bulkhead outrigger can be removed, and will then swing back into the original position in order to position the new outrigger in the exact same place as the old one.
The old bulkhead outrigger was then removed. Whilst cutting, I was suddenly surrounded by plumes of dense black smoke. Thinking that my angle grinder was on fire, I rapidly switched off and unplugged it. Smoke continued to billow out of the outrigger - but as I reached for the fire extinguisher the quantity of smoke rapidly decreased and then stopped.
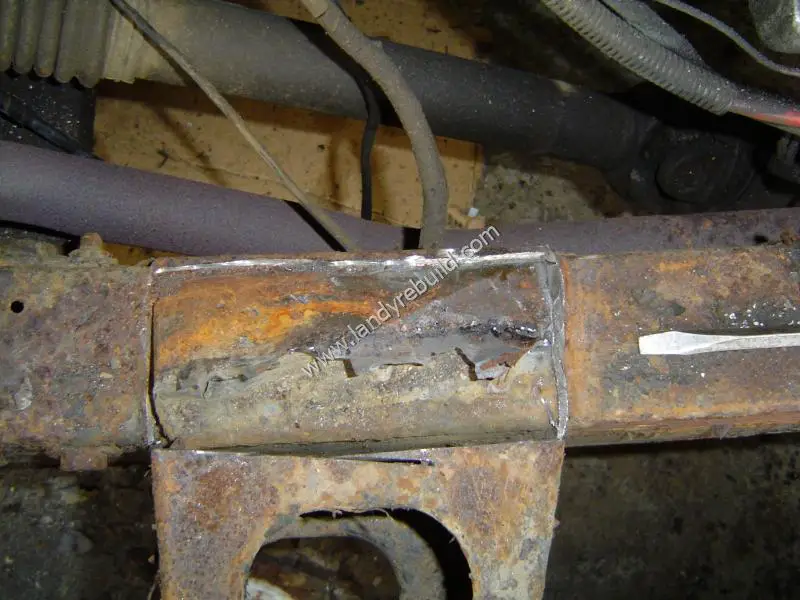
Investigating the source of the smoke revealed that a previous owner had decided that the most cost-effective way to repair rust-holes in the outrigger was not to replace the outrigger. Neither was it apparently a good idea to weld a steel patch over the holes. No, the best way of repairing this was just to stuff the holes full of bitumen. It was this bitumen which had caught fire.
Although not very clear, you can see a lump of it in the next photo; the top of it has been coloured rust-red.
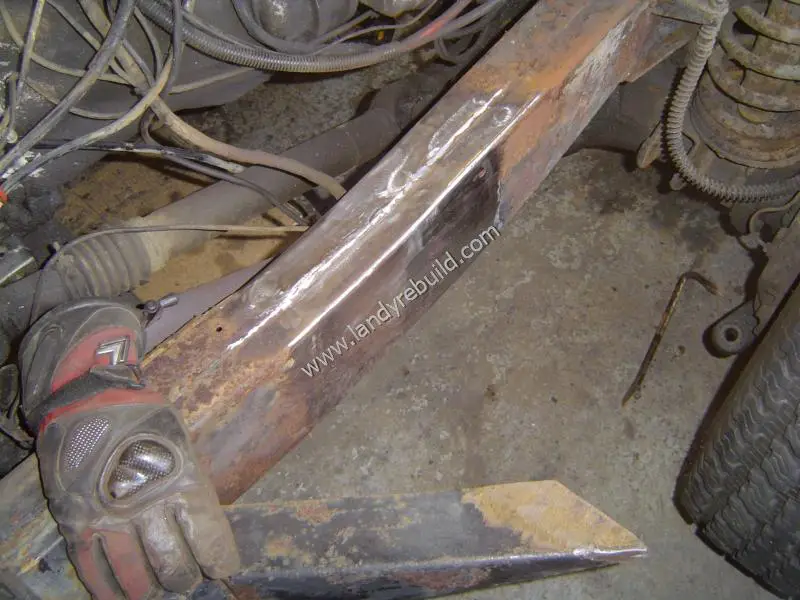
With the old rusty outriggers removed, the chassis rails were thoroughly cleaned ready for welding:
The new outriggers were then welded into place before being painted.
With a bit of luck the bulkhead bolts will line up when the time comes to refit the bulkhead!
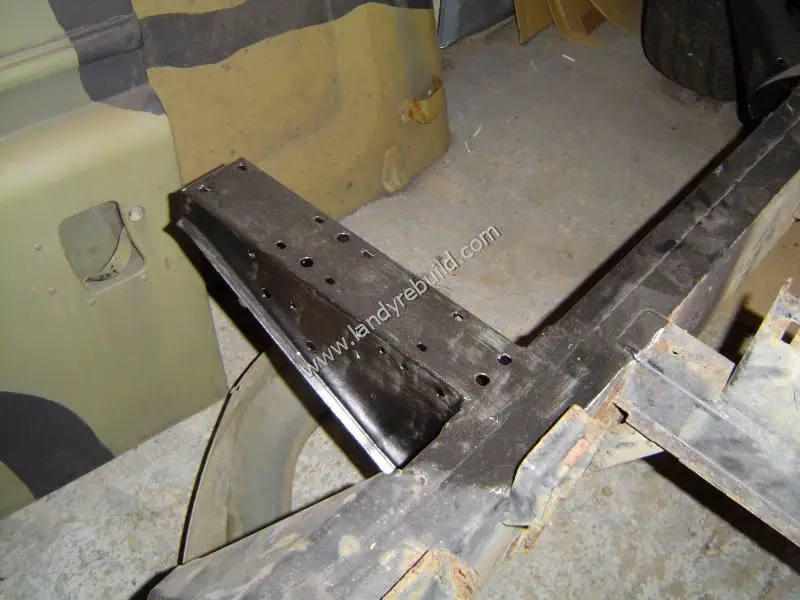
The same procedure was carried out for the rear outriggers.
Here's the nearside rear outrigger, prior to its final coat of paint:
