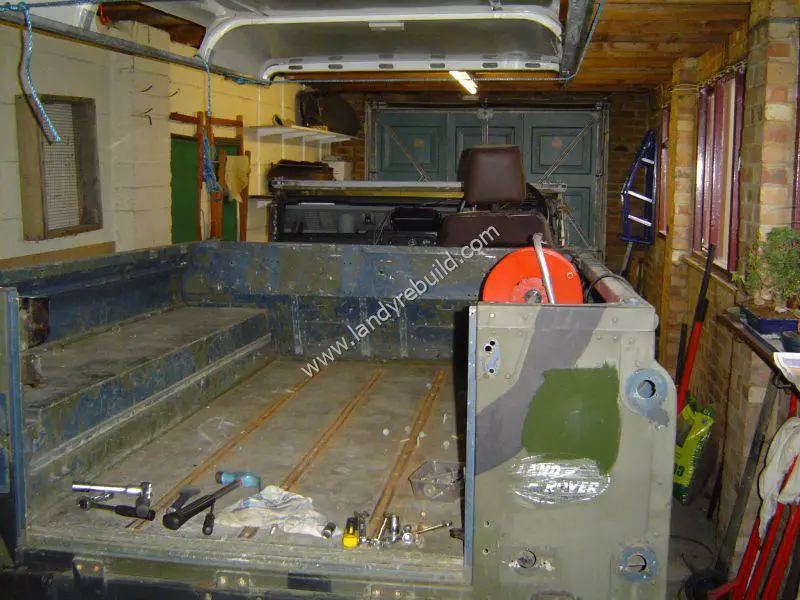
In order to proceed with the roof removal I firstly took off the rear door (which practically fell off, being mainly held together with rust). For those of you with normal doors, there are simply three hinges which are fairly easy to remove. Don't forget to remove the interior door stay (if it's still there of course!)
All the window glass was fairly easy to remove. On the inside of each window seal there is a central rubber insert. Once this is pulled out, the rubber seal itself then has room to compress, and the entire glass and seal can be removed. (Reinstallation is a bit more tricky though). Then I took out the rear lights and headlining.
The headlining itself was a bit grubby, and sagged in the middle where the fastenings had given way.
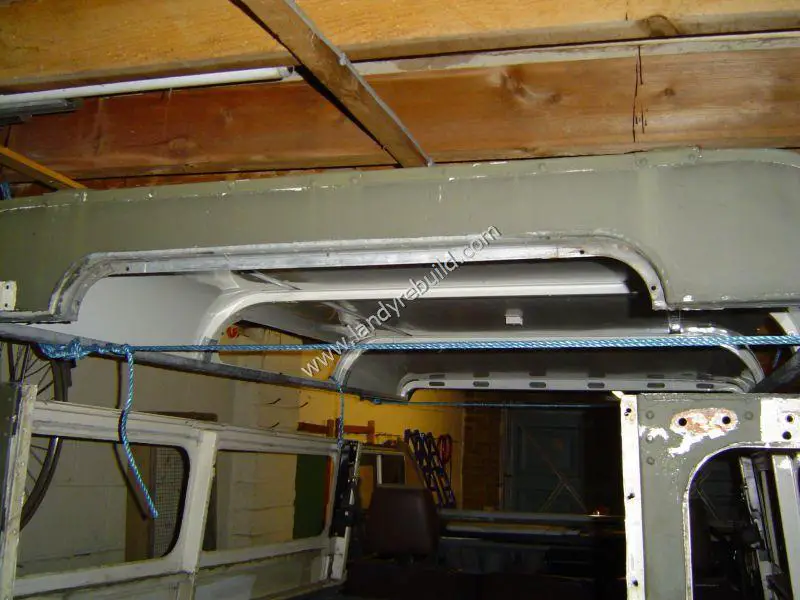
The hard top itself is supposed to be held on by 28 bolts inside the roof channels. (Actually don't be surprised if there aren't 28, I counted just 14 on mine). Fortunately the garage roof had been replaced the previous year, so the roof beams were all ok, and at just the right height for getting the hard top out of the way. Having removed all the bolts, I lifted each corner in turn and slid a rope through. Then by pulling on each end, I was able to gradually lift the hard top off. You can see in the photo below how this was done.
Next I removed the hard top sides - a simple matter of undoing a total of 8 bolts. Next to come out were the passenger seat, floor plates, and seat base.
The windscreen was then folded down onto the bonnet, out of the way. I had some left-over bronze green paint from my previous Series 3, so decided to see what it would look like on the 110. I wasn't convinced, and decided a deep red colour would be better! But more on that later...

