Various methods can be used for suspension bush removal. Usually the symptoms indicating that suspension bushes need replacing are a 'clunking' noise, especially under braking or during slow manoeuvering. A vibration at higher speeds could also indicate a suspension problem.
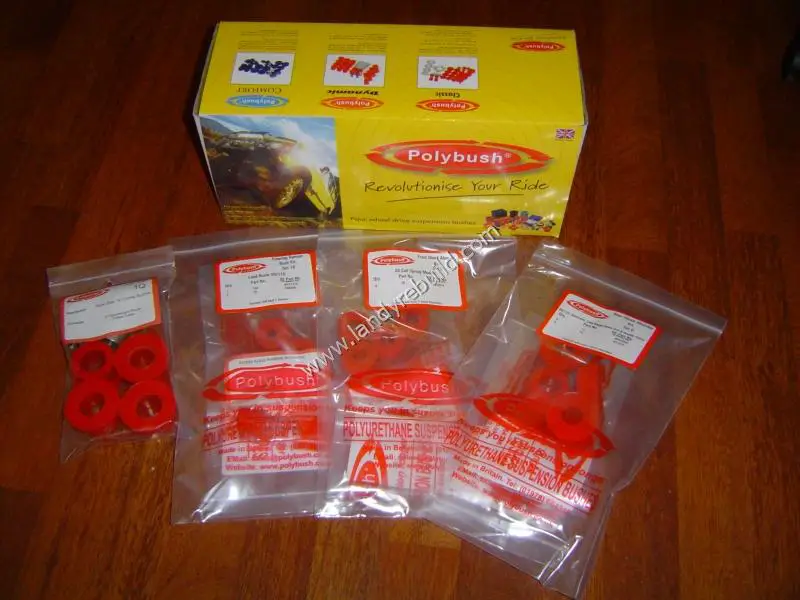
I hadn't noticed any of these symptoms, but as I was going to be renovating the entire suspension anyway, I ordered a complete set of replacement bushes. I chose the Polybush Red:
The ease of suspension bush removal seems to be in inverse proportion to the length of time the old bushes have been on the vehicle. It was obvious that some sort of press would be needed. I had heard of the bushwaka tool but when I saw the price, this was an incentive to make my own.
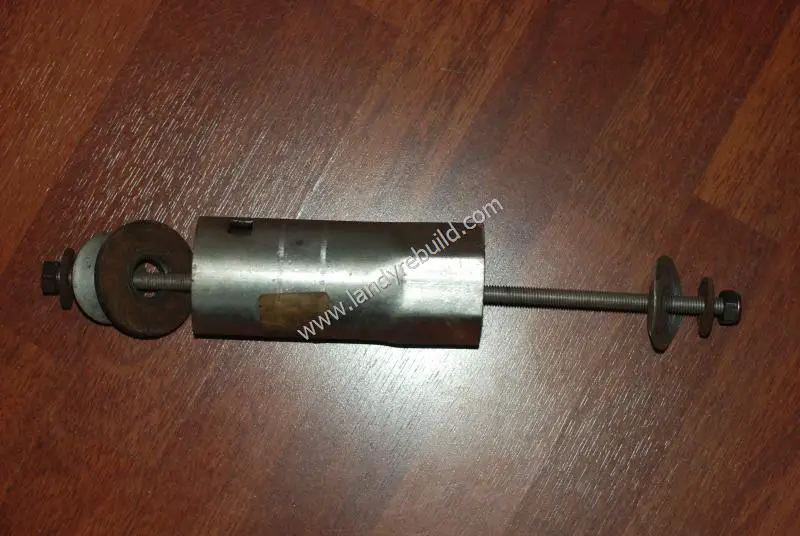
I had some lengths of M12 threaded rod, so I welded a nut onto one end. Some washers of increasing size were then added; the last one being just the correct size to bear on the outer casing of the bush. The bush needs to be pulled into a tube, so I used the old faithful hub spanner. Washers of decreasing size were then added, followed by another nut. In the picture below, the old bush occupies the space between the large washer on the right, and the hub spanner.
I was fortunate in that this tool worked fairly well (although I did snap a couple of threaded rods and bent several large washers). I also used the bench vice for the rear bottom links. Others have not been so lucky; I've read that in some cases, access to a 50-ton hydraulic press was required! If all else fails, another method of removing the old suspension bush is to drill out the old rubber; either by using a suitably-sized hole saw, or just drilling holes all the way around the rubber until the central casing can be removed.
One could also burn out the old rubber by setting fire to it; but this is not really recommended. Once the central casing of the bush has been removed, a hacksaw blade can be inserted in order to cut through and remove the outer casing.
If using a hacksaw, be careful not to cut into the suspension component itself! Once the outer bush casing has been cut, a hammer and cold chisel can be used to collapse the outer casing; if this proves difficult, a second hacksaw cut can be made in order to remove a segment of the outer casing.
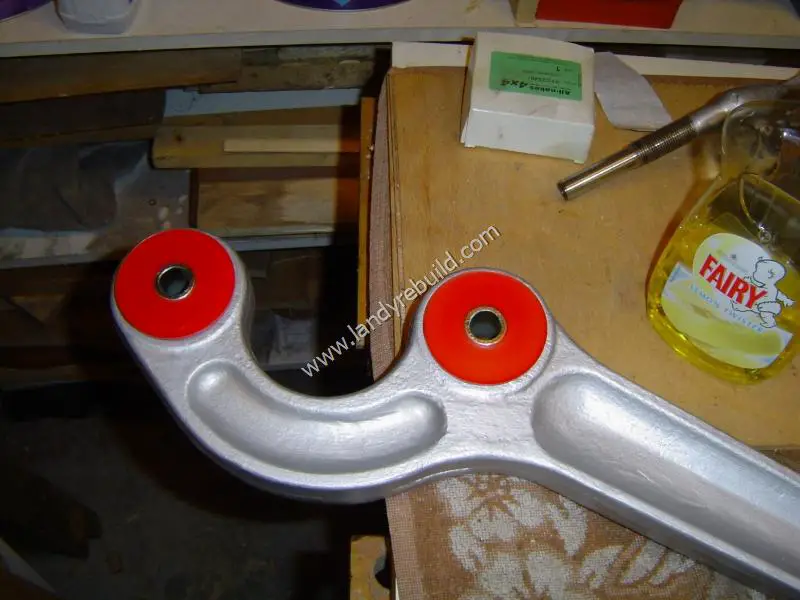
Once the old bush has been fully removed and the suspension component suitably cleaned (and possibly painted!) inserting the new bush is a doddle. A drop of washing-up liquid ensures that the new bush just slides in. Here's the completed article:


